Animations

Animating between variants on scroll in Framer (Animation Lesson 10)

Animating between variants on scroll in Framer (Animation Lesson 10)

Animating between variants on scroll in Framer (Animation Lesson 10)

Joseph

·

10:50

·

21K views

·

About this lesson

Component variants are a powerful way to define different states for a single element. With Scroll Variants, we can take that same power and tie it to the scroll position, triggering smooth transitions between component states as visitors move through the page. In this lesson, I’ll show you how to animate between variants based on scroll to create more immersive, story-driven experiences.

https://www.youtube.com/watch?v=QtmGTzjvz5Q&t=0s Intro

https://www.youtube.com/watch?v=QtmGTzjvz5Q&t=30s The setup

https://www.youtube.com/watch?v=QtmGTzjvz5Q&t=105s Creating multiple variants

https://www.youtube.com/watch?v=QtmGTzjvz5Q&t=152s Adding the Scroll Variant effect

https://www.youtube.com/watch?v=QtmGTzjvz5Q&t=192s Defining scroll sections

https://www.youtube.com/watch?v=QtmGTzjvz5Q&t=247s Linking sections to variants

https://www.youtube.com/watch?v=QtmGTzjvz5Q&t=370s Visualizing with section fills

https://www.youtube.com/watch?v=QtmGTzjvz5Q&t=420s Wrap up

Grab the remix link from Framer Academy: https://www.framer.com/academy/lessons/framer-animations-scroll-variants

Sign up: https://framer.link/yt

Follow: https://framer.link/yt-x

Learn: https://framer.link/yt-academy

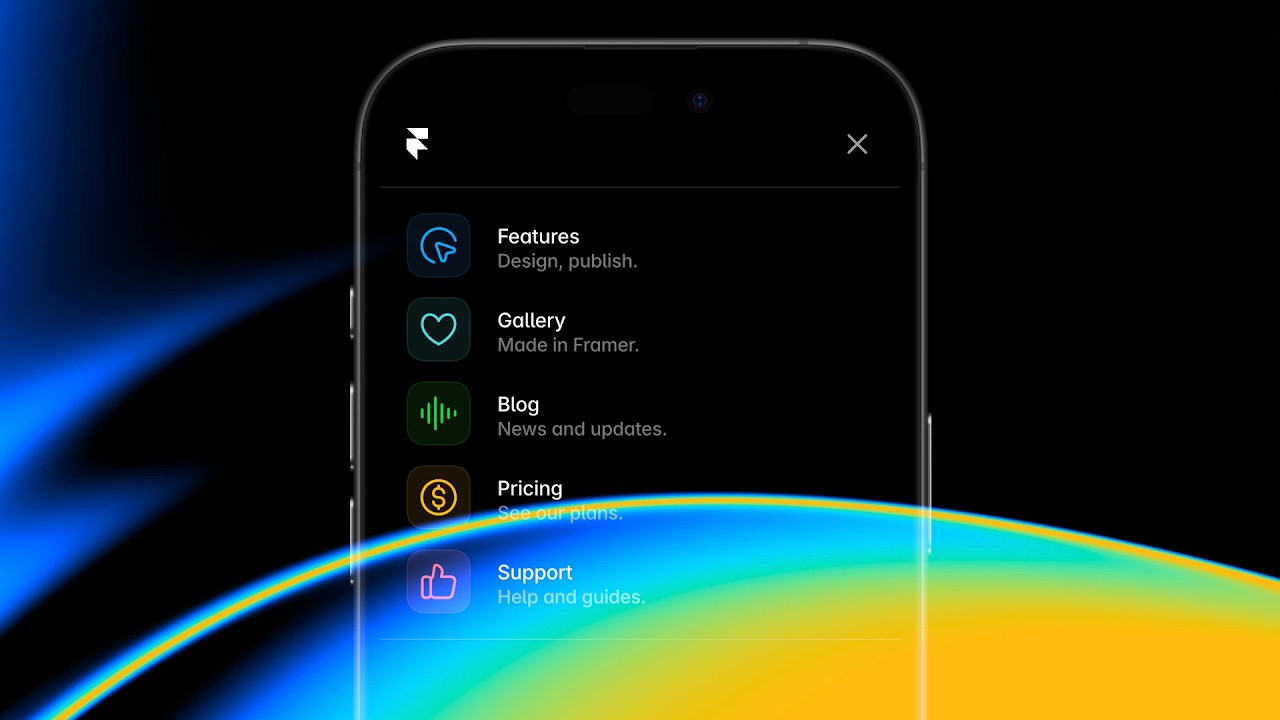
0:00Component variants are a powerful way to0:02define different states for a single0:04element. With scroll variance, we can0:07take that same power and tie it to0:09scroll position, triggering smooth0:11animations between the states of a0:13component as visitors move through the0:15page. In this lesson, I'll show you how0:17to animate between variants based on0:19scroll position to create more immersive0:21storydriven experiences.0:27For this lesson, we're going to continue0:28on with that same project file that0:30we've been working on in the past few0:31lessons. But if you don't already have0:33it, you can grab the remix link from the0:35description below. So, here we're going0:37to head to the fourth page of this0:39project, and you'll find our scroll0:42variants page here. And I just want to0:44walk you through the anatomy of how I've0:46set up this document. It's a pretty0:47basic layout. We've got this iPhone0:50here, which is a component. And within0:52that component, we're gonna have the0:54screen change a few times as we scroll0:57down. But we want the screen to change0:59as we scroll from this block of text1:02down to this block of text down to this1:04block of text. And each one of these is1:06set to 100 VH for its height. So that1:10way it takes up the entire screen in the1:12browser no matter how tall the browser1:14window is. But zooming out a bit here,1:16you get the idea. We've got this extra1:18long stack of these text frames and then1:21we've got this iPhone floating here. And1:23if I preview this and I scroll down,1:26you'll notice that we scroll right past1:28the phone. Now, we're going to want to1:30make this sticky so that it stays in the1:32same spot on the screen as the text on1:35the right hand side continues to scroll1:37by. So, let's get that dialed in first.1:39So, I'm just going to go back and with1:41this iPhone frame selected, I'm going to1:43head over here and switch the position1:45type from relative to sticky. If you're1:48not familiar with sticky positioning,1:50I've got a great lesson that I created1:51for you in the framer fundamentals1:54course. So, go check that out if you1:55haven't watched it already. And now that1:57we have the position of this set to1:59sticky, it's going to stick to the top2:01of its parent frame, which is this big2:03frame here, which is just a horizontal2:06stack that has the phone in it and then2:08has that stack of text frames next to2:10it. So, I'll preview this again. Command2:13P on my Mac. And as I scroll, now when2:15the top of its parent frame reaches the2:18top of the viewport, it sticks. And the2:20other layers continue to scroll until we2:22get to the bottom of that parent frame.2:24and then everything continues scrolling2:26together. So that's the gist of sticky2:29positioning here cuz again we want this2:31to stay on the screen for long enough2:33that we can actually see it changing. If2:35we scroll past it and then it changes,2:37that doesn't do anyone any good. So for2:39this particular example, sticky2:41positioning is very key. So I'm going to2:43go back here and the next most important2:46thing in order to cycle through a set of2:49variants for this phone component is to2:51have a set of variants for this phone2:53component. Right now, if I double click2:55into this phone component, we just have2:57this one primary variant. I've already3:00populated it with a few different3:01images, but what I want is a few3:03different variants where each variant3:06shows a different image cuz then we can3:08cycle through those variants as we3:09scroll. So, to create our second3:11variant, I'm just going to select the3:13primary variant here. I'm going to click3:15here to add a new variant. And for good3:18measure, I'll click again to add a third3:20variant just so that way I have all3:22three set up sort of ahead of time. And3:24then on this second one, I'm going to3:26take the screen one image, which is the3:29image that we see on top of everything.3:31And I'm going to come down here and I'm3:32just going to reduce the opacity all the3:34way down to zero rather than setting the3:37visibility to none because we can3:39animate opacity changing. We can't3:41animate visibility being on or off3:43because it's going to click on or click3:45off. Opacity on the other hand, opacity3:48has a value. We can animate a value. So3:50now that we have opacity set to zero for3:52this image, I'll go to the third3:54variant. I'll do the same thing. Lower3:56that same image down to 0% opacity. And3:59I'm also going to grab the image under4:00it and lower that one to 0% opacity as4:03well. And I can do that extra quickly by4:05just tapping zero on the keyboard. A4:08single tap of zero will give you a 0%4:10opacity. And if you tap it again, it'll4:12go back to 100% opacity. So that's a4:14very nifty shortcut there. So here we4:16go. Now we have three variants. We have4:18this first one with one image, second4:20one with another image, third one with a4:22third image. Cool. So we're just about4:24halfway there. Let's go back to our main4:27page here. And now that this component4:30has several variants, we can come over4:32here to the effects panel. And when we4:34go to add a new effect, we have the4:36option of choosing scroll variant, which4:38is actually disabled if you select a4:40component that has no variance within4:42it. So the first order of business is4:44create the variants otherwise you won't4:46be able to add this effect in the first4:48place. So when I add the scroll variant4:50effect we get the usual triggers that we4:53got with our other scroll-based effects.4:55We have on scroll which means are we4:57scrolling or not scrolling. We have4:59layer in view which means trigger this5:01when the layer comes into view in the5:03viewport. And then we have section in5:05view which is going to give us a bit5:06more flexibility because with section in5:08view we can have several sections5:11correspond with several variants. And5:12since we have three here that's exactly5:14what we want to do. I'm going to switch5:16to section and view. But I have no5:19sections on this page. So I can't5:21actually choose a section yet. I've got5:23to go and turn each one of these text5:25boxes into a section. So that way the5:28top edge of each text box means5:31something to the browser as we scroll.5:33So with this first one selected, I'm5:35going to scroll down on the properties5:37panel and I'm going to add a scroll5:39section. And you can name this whatever5:41you want. I'm going to name it feature5:42one. That's the name that I had before.5:44But as long as you know what the names5:46mean, you can name these things whatever5:48you want. I'm going to do the same here5:49for the second section. I'm going to5:52click and add a scroll section named5:54feature 2. Then I'm going to scroll down5:56and do the third one. Come down here and5:58you probably guessed it, add a scroll6:00section called feature three. Cool. So6:03now that these scroll sections actually6:05exist, we can come back here to our6:08component. We can come back here to our6:10scroll variant effect and we can choose6:12which section we want to display which6:15variant. So for feature one, for that6:17first section here that I named feature6:19one, we want to show the very first6:22variant. And things will be a bit more6:24clear here if you name your variants6:26within the component. It's not a6:28requirement, but the more variants you6:29have, the more valuable a good naming6:31convention is going to be here. But6:33since mine don't really have explicit6:34names, I'm just going to choose variant6:35because I know that that's the first6:37one. Then I'm going to choose add6:39section and choose my second one,6:42feature two, which is going to6:44correspond with variant two. And then6:46the third section which is called6:48feature three which is going to6:50correspond with variant three. There we6:54go. So we've got the gist of the setup6:56here. Coming up to the top. We do want6:58replay turned on. So that way as we7:00scroll up and down it'll go 1 2 3 3 2 17:04etc. back and forth. And then for7:06viewport we get to decide where the top7:08of the section specifically is going to7:10trigger the variant to change. So when7:13section one when the top of section one7:16reaches which part of the viewport top7:19center or bottom is it going to trigger7:22that switch over from variant to7:24variant? If we wait until the section7:26gets to the top of the viewport we'll7:28have to scroll pretty far before7:30anything changes. So let's actually take7:32a look at that. Let's see if that is7:34even the way to go. So I'm going to7:35press command P again to go into preview7:37mode. And as I scroll down there's that7:39filter section. when it hits the top of7:41the viewport, it's going to set that7:43first variant, which actually was the7:45variant that I already had visible. So,7:46it doesn't look like anything's7:48happening here with the first one, at7:50least until we switch to the second one,7:52and then come back. So, let's keep7:54moving. We're going to scroll down to7:55the second one. Now, the top of that7:57section is probably right about here. It7:59hasn't hit the top of the viewport yet,8:01so nothing's changed. But when it does,8:03there we go. When the top of the section8:05hit the top of the viewport, section two8:07triggered variant 2. And if we keep8:09going further down, further down until8:12the top, there's the switch. So, it does8:14happen pretty late. And if we're8:16scrolling backwards, it happens pretty8:17early, right? Because we're switching to8:19that second variant before we can even8:21see the text that corresponds with that8:24second variant, right? Section two,8:26second variant. Section one, first8:28variant. So, this is kind of awkward8:31timing here just a little bit. So, let's8:33fix that. I'm going to go back and8:36rather than having those trigger when8:38the section reaches the top of the8:39viewport, I'm going to have it trigger8:41when the section reaches the middle of8:43the viewport. I think that is going to8:44solve all of our problems or at least be8:47a very happy medium. So again, command P8:50on my Mac. Scroll down. At this point,8:53we should be loading that variant one,8:55which we can't tell because variant one8:58was already there. But as we keep going8:59and going and going, there we go. See,9:02that's the moment where this9:04userfriendly text box, which is again9:06100VH, is hitting the middle of the9:09viewport. So, that invisible barrier is9:11probably right here. And as we keep9:13scrolling, we can see that share comes9:15into view, the text comes into view at9:18pretty much the same time as its section9:21hits the middle of the viewport and9:22triggers that image to switch. So that9:25definitely seems like more of a happy9:26medium because as we get the text coming9:28into view, we get the top of the section9:31triggering the switch of the image on9:33the left hand side. So that is much much9:36better. And a little troubleshooting tip9:38for you. If you're invisible sections9:39are making it a little mysterious if9:41things are happening at the right time,9:43what you can do is just add a fill9:46temporarily. I like to do so at a9:48reduced opacity so things look kind of9:50normal. And now I can see where the top9:53of this section meets this section. And9:55I can see where the top of this one9:57meets it. If I add a fill to this as10:00well. So now we can see visually that10:03it's when the section below hits the10:05vertical center of the viewport that10:07that's when this is happening. So this10:09is happening exactly as it should. And10:11then down here, same deal. We hit that10:14vertical center and that is where things10:16are getting triggered. And you can go10:18back and me personally, I would just hit10:20undo a few times to get rid of those10:22fills. And there you have it. Scroll10:25variants let us turn scrolling into10:27interactions that drive components. It's10:30a clean way to tie motion to context and10:32tell a story as visitors move down the10:35page. That's it for this one. I'll see10:37you in the next one.

Watch on YouTube ↗

More in this topic

Framer Update: Logo Shaders2:05
Framer Update: Logo Shaders
Framer Update12K views · 1 month ago
Framer Update: Holo Shader1:46
Framer Update: Holo Shader
Framer Update6K views · 2 months ago
Shader: Chromatic Aberration1:56
Shader: Chromatic Aberration
Framer Update7K views · 2 months ago
Framer Shaders2:28
Framer Shaders
Announcement23K views · 2 months ago
Framer Update: Flow Effect in Layout Templates2:12
Framer Update: Flow Effect in Layout Templates
Framer Update10K views · 3 months ago
Building an Expanding Article Stack in Framer13:14
Building an Expanding Article Stack in Framer
Animations4K views · 4 months ago
Scaling a clipped image on hover in Framer5:41
Scaling a clipped image on hover in Framer
Animations7K views · 5 months ago
Making elements revolve in Framer3:38
Making elements revolve in Framer
Animations5K views · 5 months ago

Create a free website with Framer, the website builder loved by startups, designers and agencies.