Layout & Design

Drawing with Vectors in Framer (Vectors Lesson 2)

Drawing with Vectors in Framer (Vectors Lesson 2)

Drawing with Vectors in Framer (Vectors Lesson 2)

Justin

·

7:57

·

3.9K views

·

About this lesson

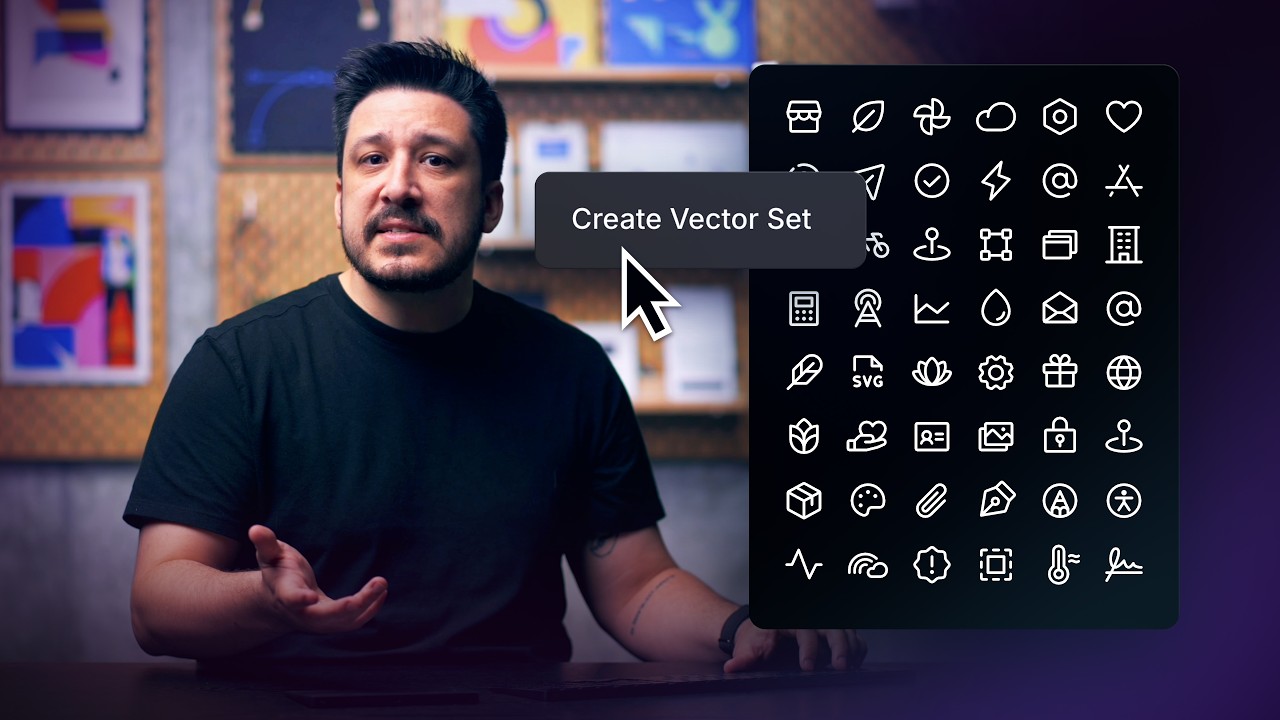
In this lesson, we dive into drawing with vectors in Framer. You’ll learn how to create shapes and paths directly on the canvas, use modifier keys to draw with precision, and edit anchor points to refine your designs. We’ll also cover how to build more complex shapes using Boolean operations, so you can move faster without manually drawing every curve.

Perfect for anyone looking to create custom icons, UI elements, or illustrations inside Framer.

https://www.youtube.com/watch?v=k0gVnc-OH7I&t=0s Introduction

https://www.youtube.com/watch?v=k0gVnc-OH7I&t=35s Drawing with Shapes

https://www.youtube.com/watch?v=k0gVnc-OH7I&t=103s Adjusting Curves

https://www.youtube.com/watch?v=k0gVnc-OH7I&t=205s Adding & Selecting Points

https://www.youtube.com/watch?v=k0gVnc-OH7I&t=267s Drawing with Paths

https://www.youtube.com/watch?v=k0gVnc-OH7I&t=340s Boolean Operations

https://www.youtube.com/watch?v=k0gVnc-OH7I&t=442s Wrap-Up

Remix Lesson Worksheet: https://framer.com/remix/Au8lxGEL37nhWoriktKv

Sign up: https://framer.link/yt

Follow: https://framer.link/yt-x

Learn: https://framer.link/yt-academy

0:00Before we can build icon sets [music] or0:03add animation, we need to start with the0:05basics. Drawing vectors. Framer's vector0:09tools let you create and [music] edit0:11shapes, paths, and curves right on the0:13canvas. These [music] are the core0:16building blocks behind icons, logos, and0:19any other custom graphic you want to0:21make. So, in this video, we're going to0:23cover how they work and how you can0:26start combining them into more complex0:28[music] shapes without ever leaving0:30Framer.0:35To start drawing with vectors in Framer,0:38we'll head to the top left corner and0:40select the vector icon. From this0:43dropdown, we have options to create0:45simple shapes like rectangles, ovals,0:48polygons, and stars. To place a shape on0:51the canvas, just pick one and click and0:53drag to draw it. If we want perfect0:56proportions, like turning a rectangle0:58into a square, we can hold shift while1:01dragging. This works for all shapes.1:04Just keep in mind that using shift1:07automatically locks the proportions1:09after the shape is placed, but you can1:11unlock them any time by clicking the1:13lock icon in the properties panel.1:16Another helpful drawing tip, holding1:18option or alt while we drag makes the1:21shape expand out from its center instead1:24of the top left. Pair that with shift1:26and we'll get perfect proportions just1:29like before. And if we want to1:31reposition the shape before placing it,1:34just hold the spacebar while dragging.1:37This lets us move it around midraw1:40without losing the size we've already1:42set. Once we're happy with the shape on1:44our canvas, we can now customize it even1:47further by doubleclicking it to edit its1:50individual anchor points. From here, we1:53can change the positioning of each point1:55or even adjust the curves of the shape's1:58path. For example, when we select one of2:00the points on this circle, a pair of2:02handles will appear. These let us2:05control the angles and shape of the2:07curve. By default, both handles are2:10mirrored, so they move together, which2:12is perfect when we want a smooth,2:14consistent curve. But if we want a bit2:17more control, we can head over to the2:19properties panel, where we'll see three2:21curve options to switch between:2:23straight corners, mirrored handles, and2:27disconnected handles. Straight corners2:30flattens the curve connected to that2:32anchor point, giving us exactly what2:34it's titled, straight corners. We can2:37also toggle this by double clicking an2:39anchor point while in selection mode.2:42Mirrored handles is the default mode2:44where both handles move together and2:47disconnected handles lets us move each2:50handle independently for more custom or2:54asymmetric curves. Another way to2:56activate this temporarily is by holding2:58option or alt on our keyboard while3:01dragging one of the handles. And if we3:04want to lock the angle of a handle, we3:06can hold shift while adjusting the3:08curve. Framer also lets us add new3:11points to any path. By default, we can3:14add a point right in the middle of a3:16path segment. But if we hold command on3:19our keyboard, we can place a point3:22anywhere along the path instead of just3:24the midpoint. Now, I've gone ahead and3:27added a few more points to a shape to3:29show how managing multiple points is3:32incredibly flexible. For example, let's3:35say we needed to select multiple points3:37at once. All we need to do is drag over3:41the points to select them. And now we3:44can move them as a group. But what about3:46points that aren't right next to each3:49other? For that, we can hold shift and3:52click the points we need to select to3:54add them to our selection. Or if we want3:57to remove a point from the selection,3:59just shiftclick it again. With multiple4:01points selected, we can also use align4:04and distribute to keep everything4:06perfectly lined up or evenly spaced. And4:09if we have a pair of straight path4:11segments, the ability to round the4:13anchor points between them will appear4:16in the properties panel. Finally, like4:19most things in Framer, we have style4:21options that allow us to control the4:22color, add shadows, and adjust stroke4:26properties.4:27Now that we've gone over how to draw4:29with the basic shape tools, let's jump4:31in to making our own custom shapes from4:33scratch. The first thing we need to do4:36is select the path tool, either from the4:38vector dropdown or by pressing P on our4:41keyboard. From there, we can click4:43anywhere on the canvas to place our4:46first anchor point. Each click after4:48that adds a new point, automatically4:51connecting them with a straight path.4:55If we ever want a curved path, we can4:57just click and drag when placing a4:59point. This adds a curve and handles5:02just like the ones we adjusted earlier.5:04To fully close the path and finish the5:06shape, just click back on the very first5:09anchor point that was set. If we ever5:12need to keep the path open for any5:14reason, we can press escape on our5:16keyboard before closing it. If we do5:19have a closed shape that we want to5:21open, we can just select any path we5:23want to remove and hit delete to reopen5:26it. And if we have an open path that5:29we've maybe clicked away from or are5:32coming back to later, we just need to5:34click either the first or last anchor5:36point in the path to keep drawing and5:39adding new points.5:41Now, let's talk boolean operations. So5:44far, we've learned how to create shapes5:46in a few different ways, but it would be5:48nice to build more complex ones without5:50having to manually draw or adjust every5:53curve. Luckily, boolean operations let5:56us combine two or more shapes to create5:59an entirely new one. I've set up a few6:02shapes on the canvas so we can walk6:04through how this works. If we look over6:06at the properties panel, we'll see a row6:08of icons. These are the boolean6:11operations. Right now, they won't do6:13anything because they only activate once6:16we've selected two or more shapes to6:18combine. Once we do that, all of the6:20icons will light up. But what does each6:23one do? Well, Framer gives us five6:26options to choose from depending on our6:28desired result. Unite, subtract,6:31intersect, exclude, and join. Unite6:36merges two or more shapes into one.6:39Subtract cuts the top shape out of the6:42one beneath it. Intersect keeps only the6:45overlapping area. Exclude removes the6:49overlap and keeps the non-over6:50overlapping parts. And join groups6:53multiple paths so they share the same6:56visual properties without merging their6:58actual shapes. Boolean operations and7:01framer are nondestructive, which means7:04we're never locked in and our shapes are7:06never flattened. We can always go back7:09to our layers panel or doubleclick7:11directly on the canvas to open up the7:13shape group to access our original7:16shapes and paths, allowing us to move7:18anchor points or tweak paths as our7:21design evolves. So now you should have a7:24good [music] understanding of the core7:25tools for drawing vectors in Framer.7:28[music] Shapes, paths, curves, and7:31booleans together. These give us7:33everything [music] we need to build7:35clean, flexible graphics that can scale7:38from simple [music]7:39icons to more complex illustrations. In7:42the next lesson, we'll take these basics7:44further by covering how to create7:46[music] and organize a vector set. I'll7:49see you in the next video.

Watch on YouTube ↗

More in this topic

8 Framer shortcuts you're probably sleeping on4:19
8 Framer shortcuts you're probably sleeping on
Layout & Design3K views · 2 months ago
Framer Update: Stack Sorting and Bento Grids2:16
Framer Update: Stack Sorting and Bento Grids
Framer Update7K views · 2 months ago
Sharing Vector Sets Across Projects (Vectors Lesson 7)3:41
Sharing Vector Sets Across Projects (Vectors Lesson 7)
Layout & Design1K views · 3 months ago
Connecting Vector Sets to the Framer CMS (Vectors Lesson 6)3:38
Connecting Vector Sets to the Framer CMS (Vectors Lesson 6)
Layout & Design2K views · 3 months ago
Animating Vectors in Framer (Vectors Lesson 5)4:25
Animating Vectors in Framer (Vectors Lesson 5)
Layout & Design4K views · 3 months ago
Customizing Vectors with Variables in Framer (Vectors Lesson 4)4:59
Customizing Vectors with Variables in Framer (Vectors Lesson 4)
Layout & Design3K views · 3 months ago
Replace component instances site-wide in Framer1:39
Replace component instances site-wide in Framer
Layout & Design4K views · 4 months ago
Creating and Organizing Vector Sets in Framer (Vectors Lesson 3)6:58
Creating and Organizing Vector Sets in Framer (Vectors Lesson 3)
Layout & Design3K views · 4 months ago

Create a free website with Framer, the website builder loved by startups, designers and agencies.